

Create a Card User
Navigate to Manage Card Users in the left sidebar and click Add New Card User.
Fill in all cardholder details:
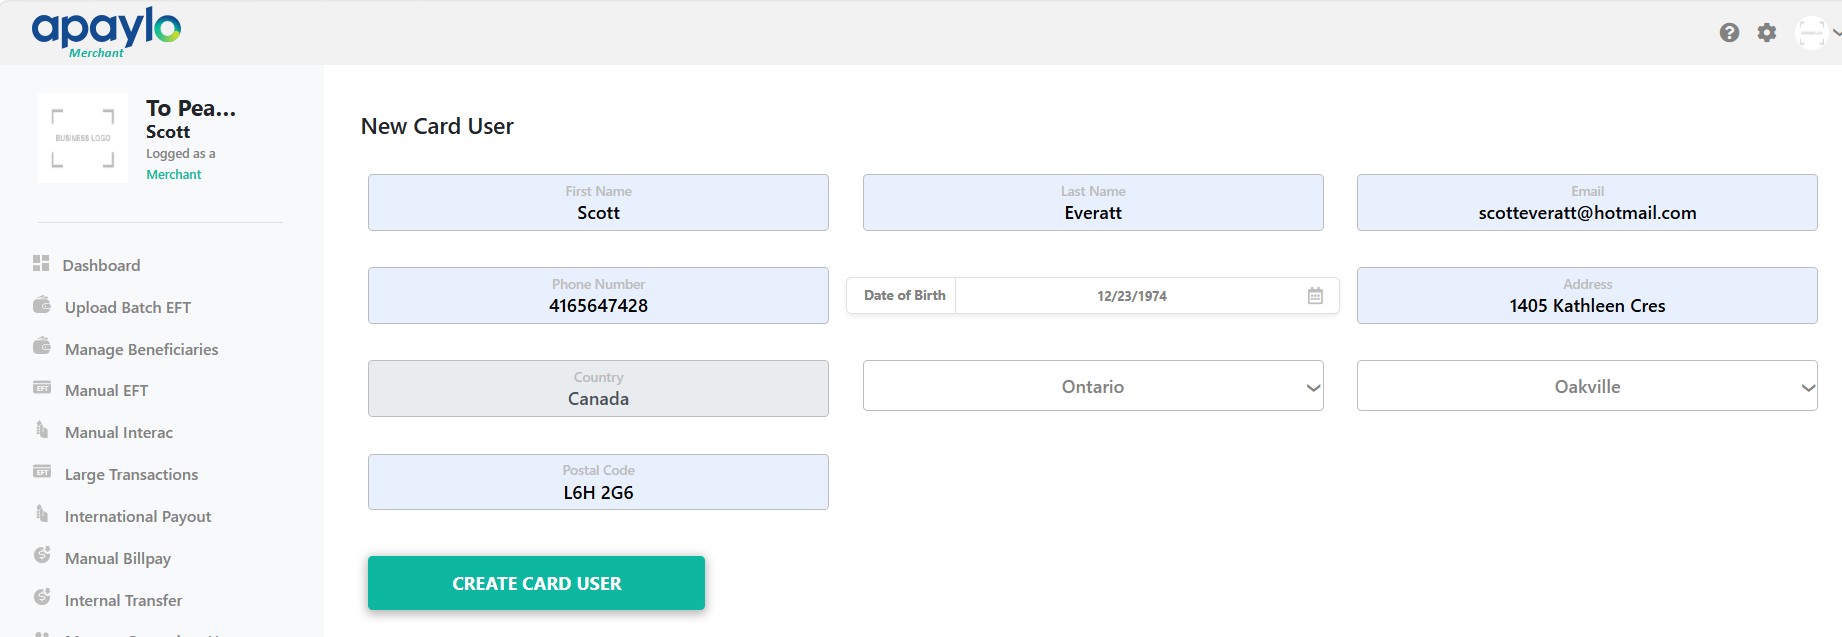
Click Create Card User when done.
Complete KYC Verification
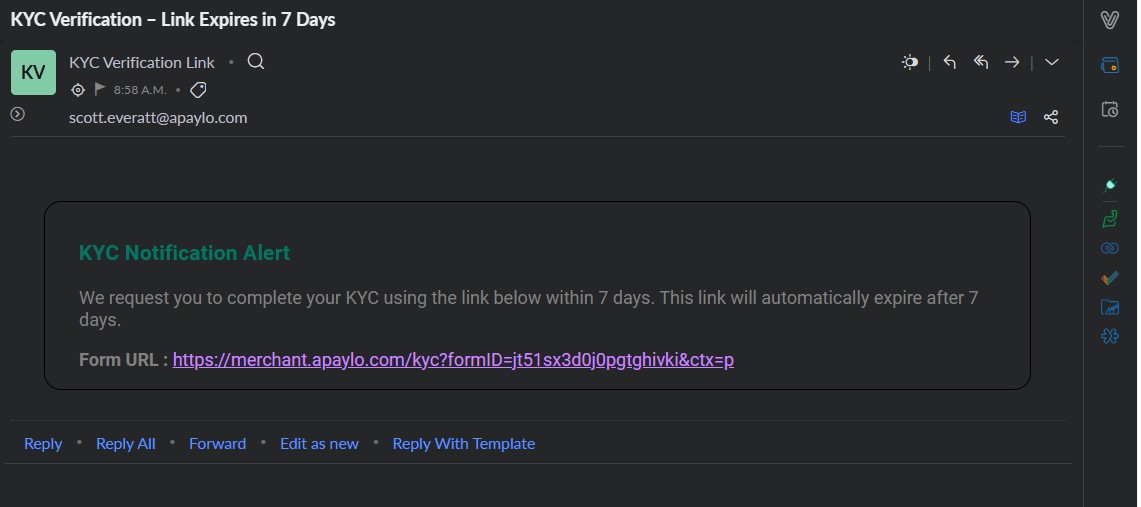
An email titled "KYC Verification – Link Expires in 7 Days" will arrive. Click the form URL inside.
The portal shows all 6 sections. Accept the consent checkbox and click Continue.
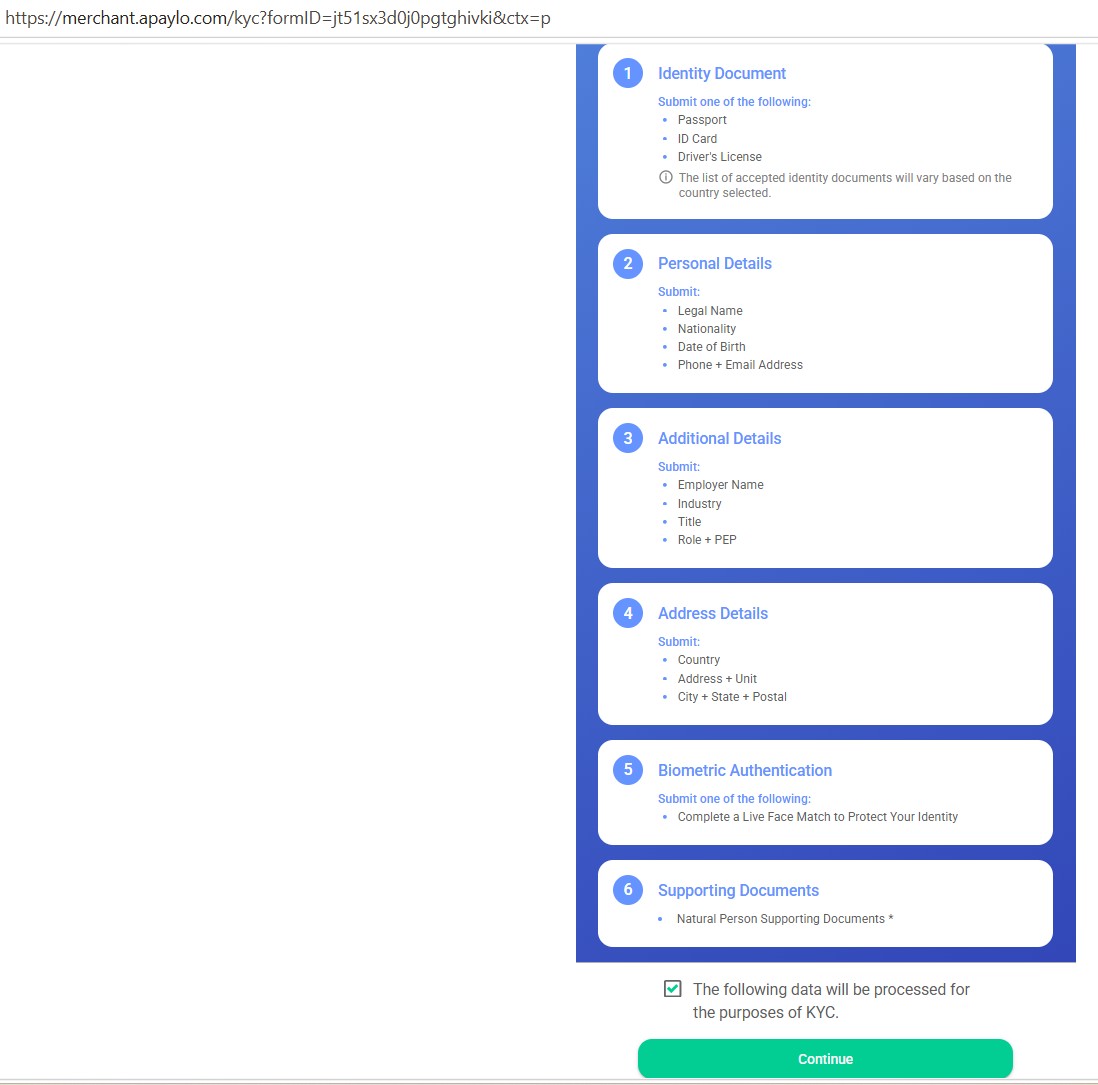
Identity Document
Photograph your Passport, ID Card, or Driver's License. Some require front and back. Be well-lit — retake as many times as needed.
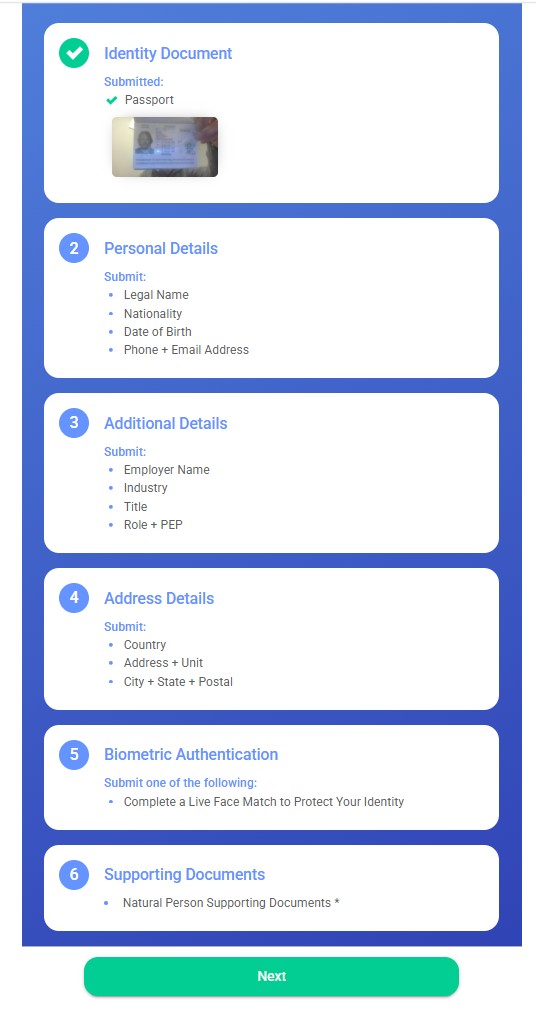
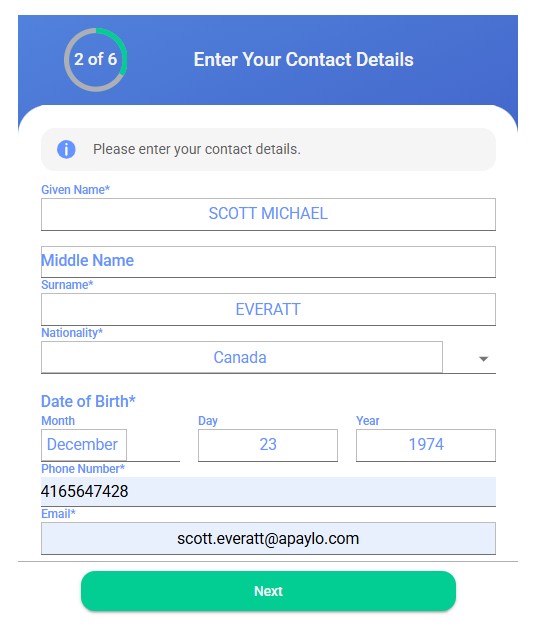
Personal Details
Fields are pre-populated from card creation — review and confirm.
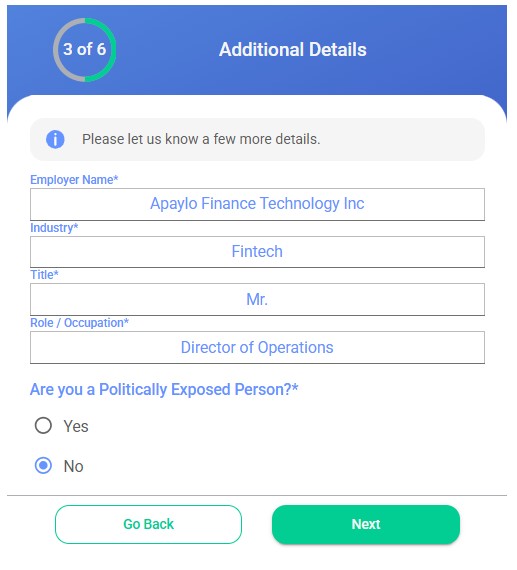
Additional Details
Provide employment details and indicate if you are a Politically Exposed Person (PEP).
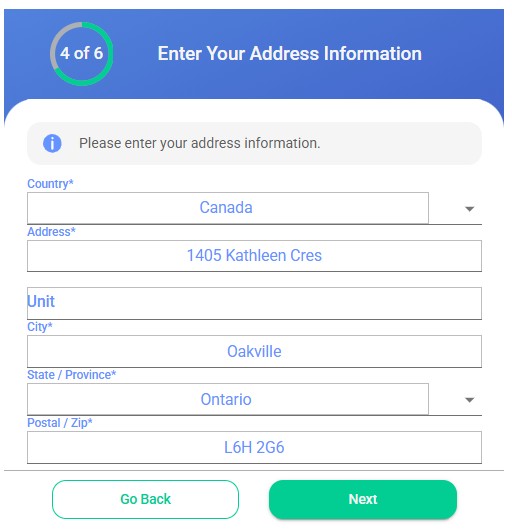
Address Details
Confirm your address — must match the proof-of-address document you'll upload in Step 6.
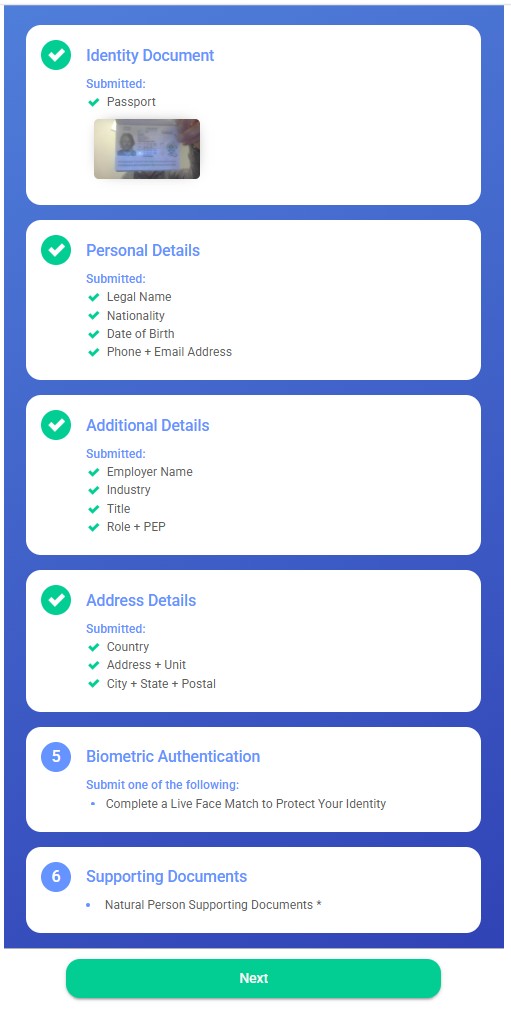
Biometric Authentication
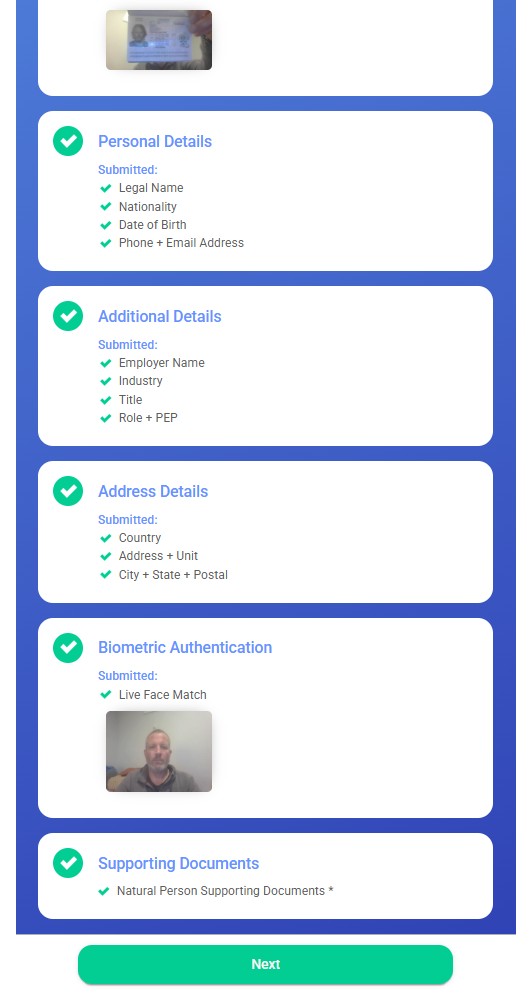
Your camera matches your face to the ID photo. Be in a well-lit room, align with the on-screen outline, and complete two captures — neutral then smiling.

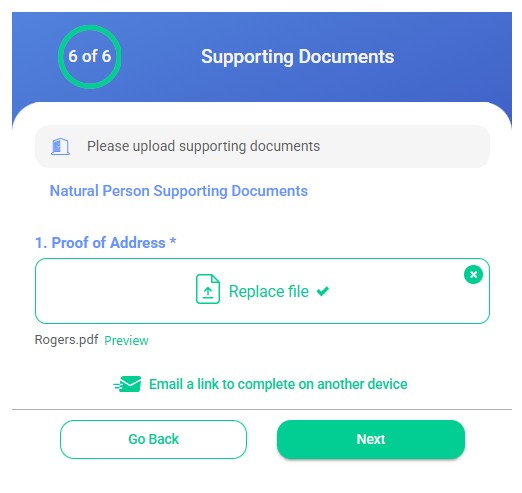
Supporting Documents — Proof of Address
Upload a document showing your name and address: phone/utility bill, bank statement, or government correspondence.
All 6 sections show green. Click Next to submit.
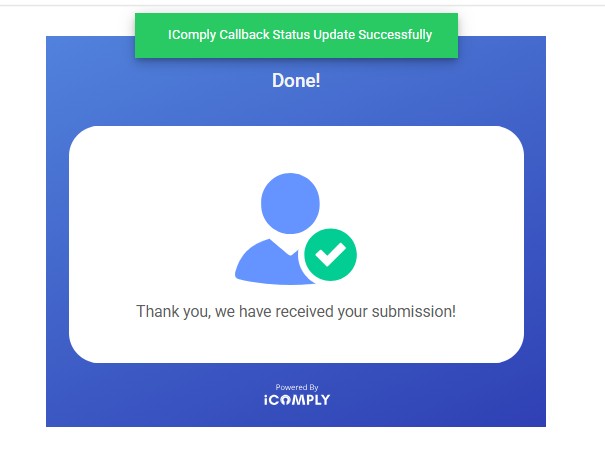
KYC Submission Complete
A "Done!" confirmation screen appears. Verification processes automatically.
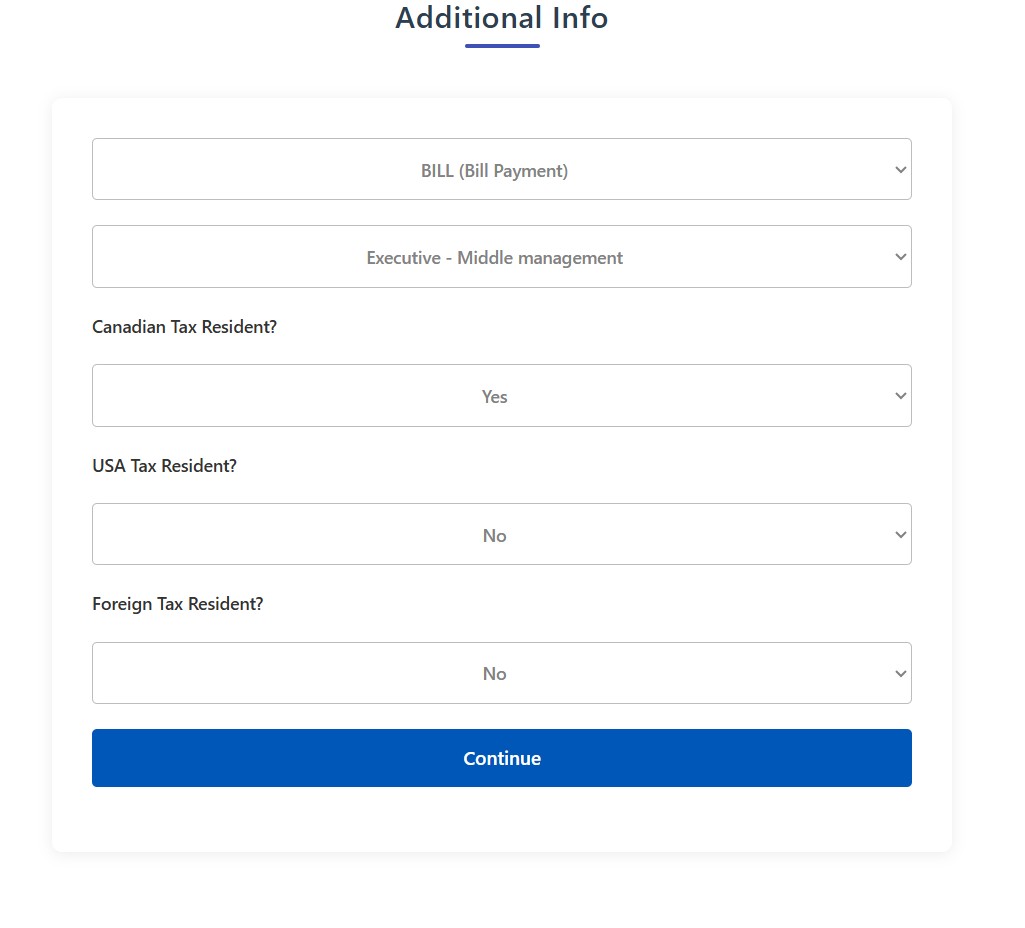
Complete Additional Information
After KYC approval, an email titled "Additional Information Required" will arrive. Click the link inside.

Fill in the short form and click Continue.
Setup Complete
Your card is activated. Head to the Card Usage tab to learn how to use all portal features.
Log in with your portal credentials. On first login you'll need to change your temporary password. You'll then land on the Cardholder Portal where all features are available from the left-hand menu.
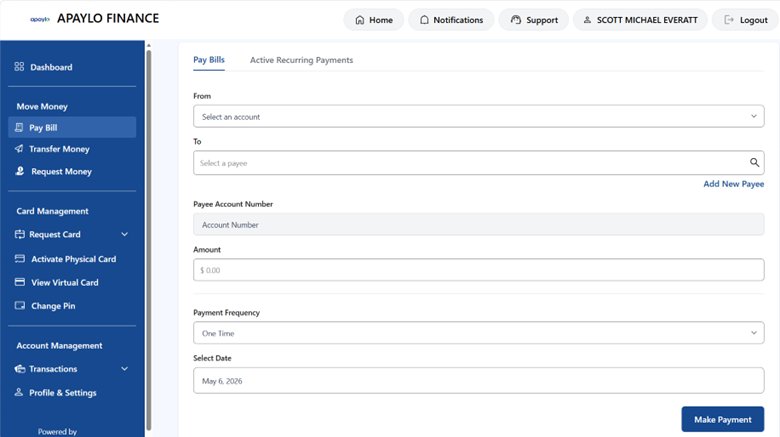
Pay Bill
Send bill payments just like mobile banking. Select your account, choose a payee, enter the payee account number, amount, and date.
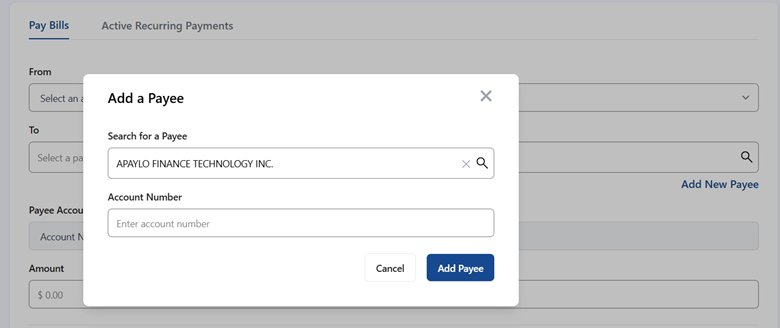
To add a payee, click Add New Payee under the To field. Search by biller name, enter their account number, and click Add Payee.
Once the payee is loaded, enter the amount. To make it recurring, select a repeat rate from the Payment Frequency pulldown, then click Make Payment.

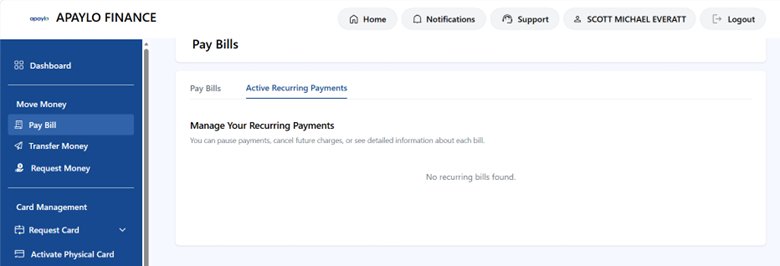
The Active Recurring Payments tab shows all scheduled bills — pause, cancel, or view details for each.
Transfer Money
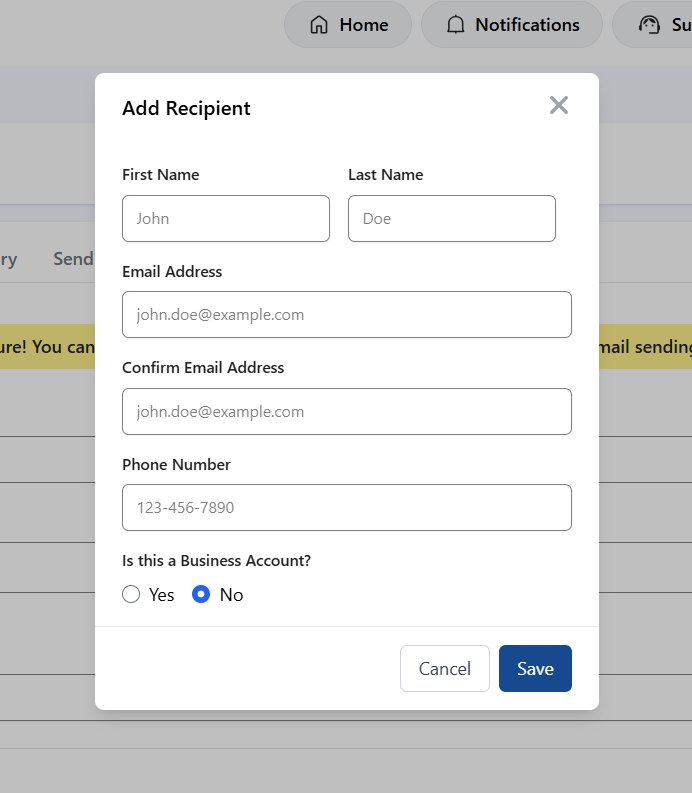
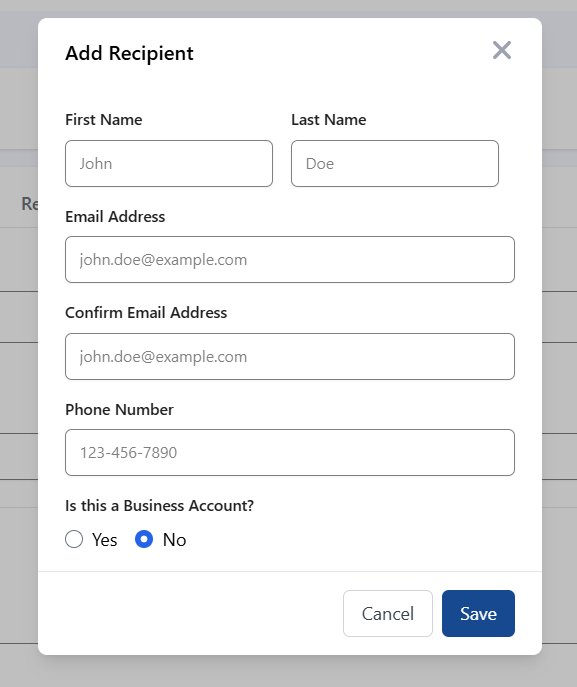
Send an Interac e-Transfer from your card. On the Send Money tab, click Add New Recipient to create a recipient.
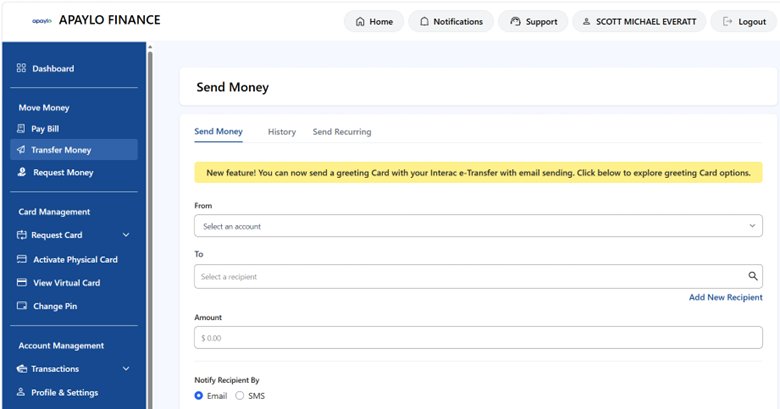
Fill in the recipient's name, email, and phone number, then click Save.
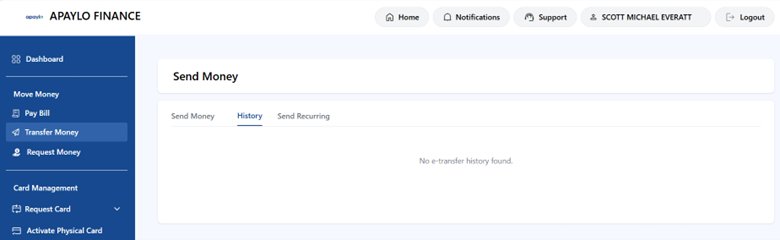
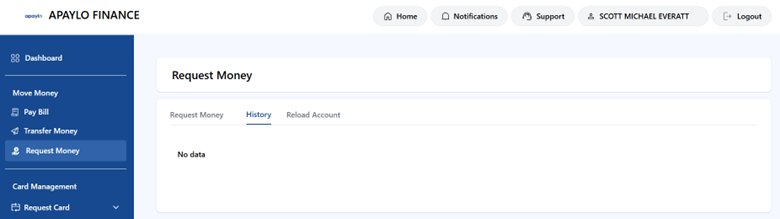
Complete the form — amount, security question and answer — then send. The History tab lists all past transactions.
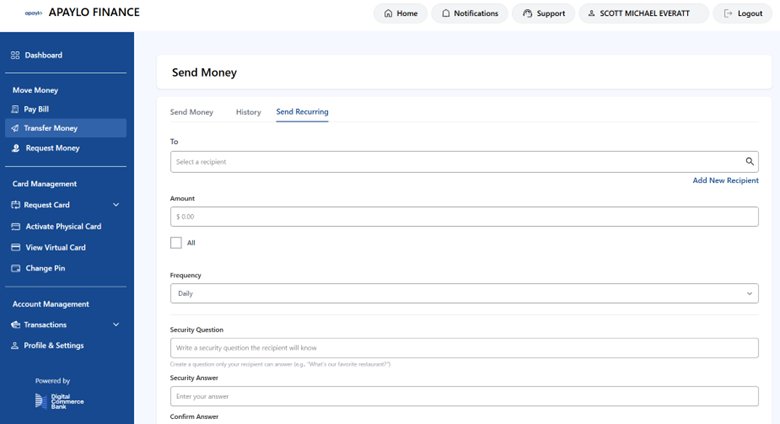
To send a recurring e-transfer, switch to the Send Recurring tab — same form with a Frequency field added.
Request Money
Send a Request Money e-transfer asking someone to fund your card. Start by clicking Add New Recipient.
Fill in the amount and send. The recipient gets an email request — once accepted, funds move directly onto your card. The History tab tracks all transactions.
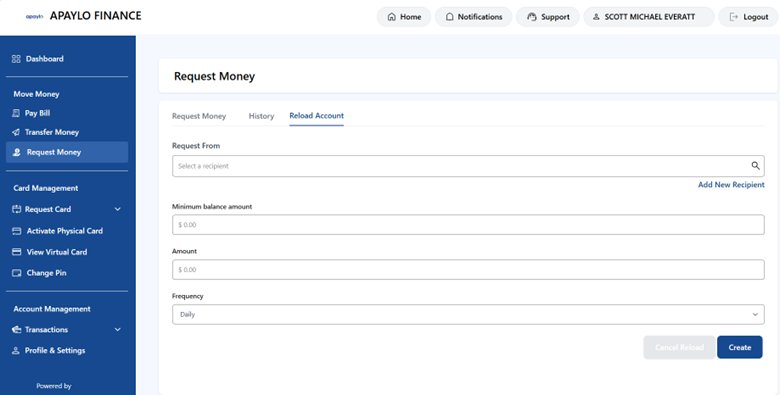
Reload Card
Set up an automatic recurring top-up via Request Money. The recipient can be yourself to pull funds from another bank account. Set a minimum balance, reload amount, and frequency.
The lower segment of the left-hand menu contains your card administration options.

Request Card
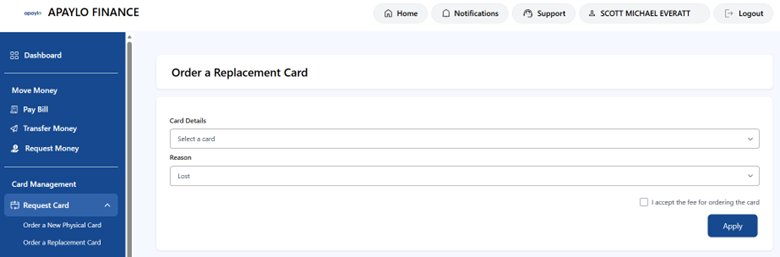
Order a new physical card or a replacement if yours is lost or damaged. Select the card, choose a reason, accept the fee, and click Apply.
Activate Physical Card
When your physical card arrives, activate it here. Enter the last 4 digits of your card number and click Activate.

View Virtual Card
View your card details in the portal. Card number and CVV are masked by default — click View Card or View CVV to reveal the full details.
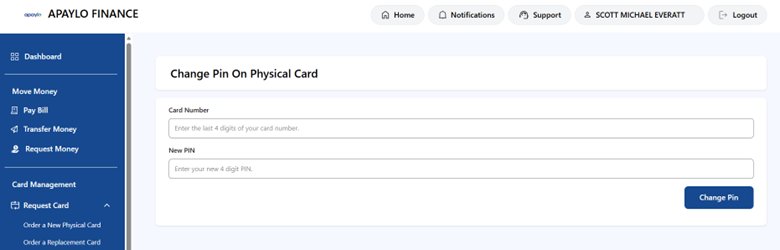
Change PIN
Change the PIN on your card — virtual or physical. Enter the last 4 digits, set a new 4-digit PIN, and click Change Pin.
Transactions
A running list of all card activity — like a bank statement — showing date & time, description, and CAD amount.

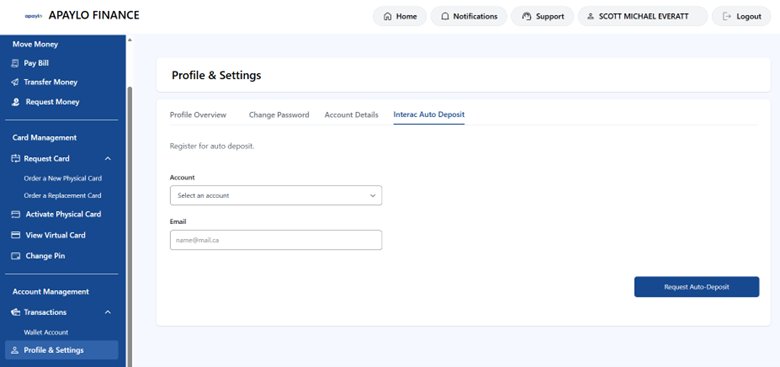
Profile & Settings
Manage your profile, change your password, and update account settings. Key feature: Interac Auto-Deposit — link an email to your card so any incoming e-transfer deposits automatically with no action needed. You can also add contact emails and access the Apaylo Card page here.
There are three ways to fund your card:
- Interac e-Transfer (Request Money) — Send a request to someone and the funds load automatically once accepted.
- Interac Auto-Deposit — Register an email address in Profile & Settings. Any e-transfer sent to that email auto-deposits onto your card with no action needed.
- Reload Account — Set up a recurring automatic top-up. You can request from yourself (your own bank account) on a scheduled frequency.
Yes. Set up Interac Auto-Deposit in Profile & Settings → Interac Auto Deposit. Link an email address to your card account. Once registered, anyone who sends an Interac e-Transfer to that email will have the funds deposit automatically onto your card — no need to manually accept the transfer.
When setting up a Reload Account (auto top-up), you define a minimum balance — the card reloads when your balance drops below that threshold. For specific card limits, contact your Apaylo administrator.
Anywhere Visa is accepted — in-store, online, and internationally. You can also use it to:
- Pay bills directly through the portal (Pay Bill feature)
- Send Interac e-Transfers to others (Transfer Money)
- Make recurring payments to billers
You start with a virtual card accessible immediately through the portal (View Virtual Card). You can request a physical card at any time through Card Management → Request Card → Order a New Physical Card. Once it arrives, activate it using the last 4 digits of the card number.
Log in to the Cardholder Portal and go to Transactions → Wallet Account. This shows a complete running list of all activity on your card including dates, descriptions, and CAD amounts — similar to a bank statement.
Go to Move Money → Pay Bill in the portal. Add the biller as a payee (search by name, enter their account number), then fill in the amount and date. You can also set up recurring bill payments using the Payment Frequency dropdown.
Yes. Use Move Money → Transfer Money to send an Interac e-Transfer to any recipient. Add them as a recipient (name, email, phone), fill in the amount and a security question, and send. You can also set up recurring transfers on the Send Recurring tab.
Go to Card Management → Request Card → Order a Replacement Card. Select your card, choose Lost (or Stolen) as the reason, accept the replacement fee, and click Apply. A new card will be issued.
Go to Card Management → Change PIN. Enter the last 4 digits of your card number, enter your new 4-digit PIN, and click Change Pin. This applies to both your virtual and physical card.
Go to Card Management → View Virtual Card. Your card number and CVV are masked by default for security. Click View Card to reveal the full card number, or View CVV to reveal the security code.
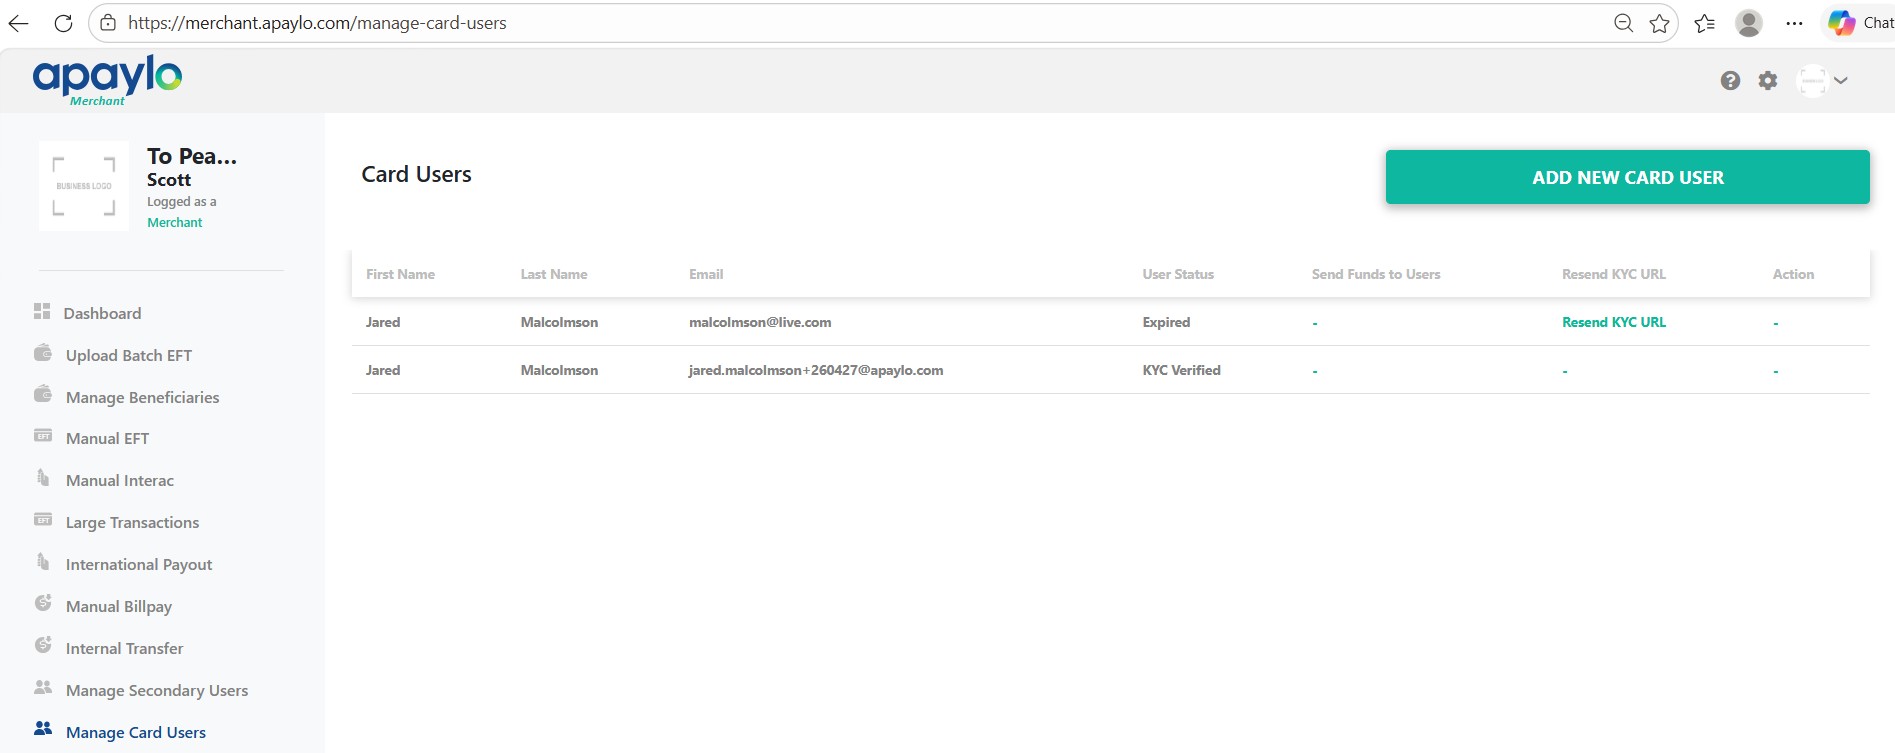
KYC links are valid for 7 days. If yours has expired, contact your Apaylo administrator. They can go to Manage Card Users in the merchant portal, find your entry, and click Resend KYC URL to send you a fresh link.
The card program requires a company domain email (e.g. yourname@yourcompany.com). Freemail addresses like @gmail.com, @hotmail.com, or @yahoo.com are not accepted during card user creation.
Any document that clearly shows your full name and residential address. Accepted examples:
- Phone or utility bill
- Bank or credit card statement
- Government-issued correspondence
The address must match what you entered in the KYC address step.
The KYC form itself takes about 5–10 minutes to complete. Once submitted, the iComply system processes your verification automatically. You'll receive a follow-up email with an "Additional Information Required" form once approved — typically shortly after submission.
Use the Forgot Password option on the portal login page. Alternatively, you can update your password from within the portal under Profile & Settings → Change Password.